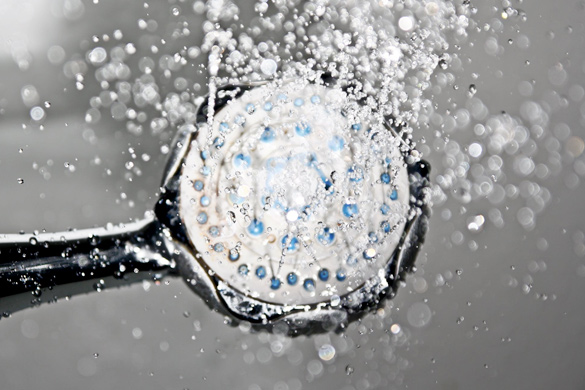
Showering with low water pressure can be an unpleasant experience. Washing becomes needlessly difficult, which in turn requires more time in the shower. Unfortunately, an article on The Washington Post explains how water conservation laws passed a decade or so ago has made this problem more common nowadays. The reason being that plumbing fixture manufacturers were forced to install flow restrictors inside showerheads.
Is it Really Low? Measuring Your Shower’s Water Pressure
On top of that, other issues can exacerbate matters. But before delving into potential problem areas and their solutions, it is imperative that you first know how to measure your shower’s water pressure. In this way, you can determine whether or not it is low compared to standard pressure ranges. The good news is that the process isn’t that complicated. A HomeServe Living guide to fixing low water pressure in the shower outlines the steps to take to test your shower’s water pressure. The guide begins with the things you will need: a measuring jug that’s at least 1−2 liters (L), a stopwatch, and a calculator.
Next, turn on the shower and put it on full. Then, with your stopwatch ready, place the measuring jug under the shower and let the water flow for six seconds. Afterward set the measuring jug aside and turn off the shower. Finish by computing your shower’s water pressure using this formula: water pressure = amount of water in the jug x 10. Ideally your shower’s water pressure should be 10−15L per minute, as anything under 10 liters is considered low pressure.
Yes, the Water Pressure is Low: Try These Quick Fixes
1. Clean the Flow Restrictor and Filter
The first solution to your shower’s low water pressure is to remove both the flow restrictor and filter and clean them, as sediments can accumulate in both and restrict water pressure even more. In addition see if you can adjust the flow restrictor and open it up a little to let the water flow a lot more freely. You can opt to remove it entirely as well or replace it with a new showerhead.
2. Clean the Entire Showerhead
You’ll need to clean the showerhead too, as mineral deposits can clog it in the same way sediments in the filter block water flow. To minimize the chances of that ever happening in the first place, make it a habit to clean the showerhead annually, as suggested in our ‘7 Summer Maintenance Tips for Every Homeowner’. Additionally, clean the aerator of your faucets since it can trap sediments over time and cause the same reduction in water pressure.
3. Have the Curb-Side Main Shutoff Opened All the Way
Sometimes, the water pressure in your entire house could be low because the curb-side main isn’t turned on fully. So, go take a look and see if the valve is turned on all the way. The Spruce details how a fully turned on main should have its valve rotated counter clockwise all the way if it has a round handle. If it has a lever-type handle, check that the lever isn’t parallel to the water pipe. That said, it’s better if you don’t tamper with the main yourself; instead, call your water provider and report the matter, so they can send someone to fix it.
4. Check the In-Line Shut-off Valve
Many homes nowadays have in-line shutoff valves on the different water lines in the house, so that you can turn off the water pressure only in specific areas (in case of repair, for instance). That said, it’s possible that some of these valves — including the one for your shower — isn’t fully open. So, do check if your shower’s in-line shut-off valve, located on the pipe leading up to the shower is turned counter clockwise all the way so that the valve is fully open.
If all else fails, it’s likely time to call in professional help. In this way, the underlying issue will be correctly identified, and then remedied accordingly.